Shape snapping with React Konva while building NeetoWireframe
May 17, 2023
Introduction
Shape snapping is a feature in software that allows shapes or objects to be automatically aligned or adjusted to a particular grid when they are moved or resized. This feature helps to ensure that shapes are properly aligned and positioned in relation to other shapes, making it easier to build a design where things are properly aligned.
We needed "shape snapping" in NeetoWireframe. NeetoWireframe is a tool for creating interactive wireframes and prototypes. neetoWirefame is one of the various tools being built by neeto.
NeetoWireframe uses React Konva to build wireframes and prototypes. React Konva is a JavaScript library that provides a React component interface to the Konva library, a powerful 2D drawing library for the web. React Konva enables developers to create and manipulate complex graphics and visualizations in a declarative and efficient way using familiar React patterns. With React Konva, developers can easily create canvas-based applications, animations, interactive games, and rich user interfaces. React Konva is highly customizable and provides many features, such as shapes, animations, event handling, and filters. It is an open-source library and is widely used in web development projects.
Let's see how we implemented snapping shapes while dragging them in the canvas based on the position of other shapes in the canvas.
Setting up the canvas 🖼️
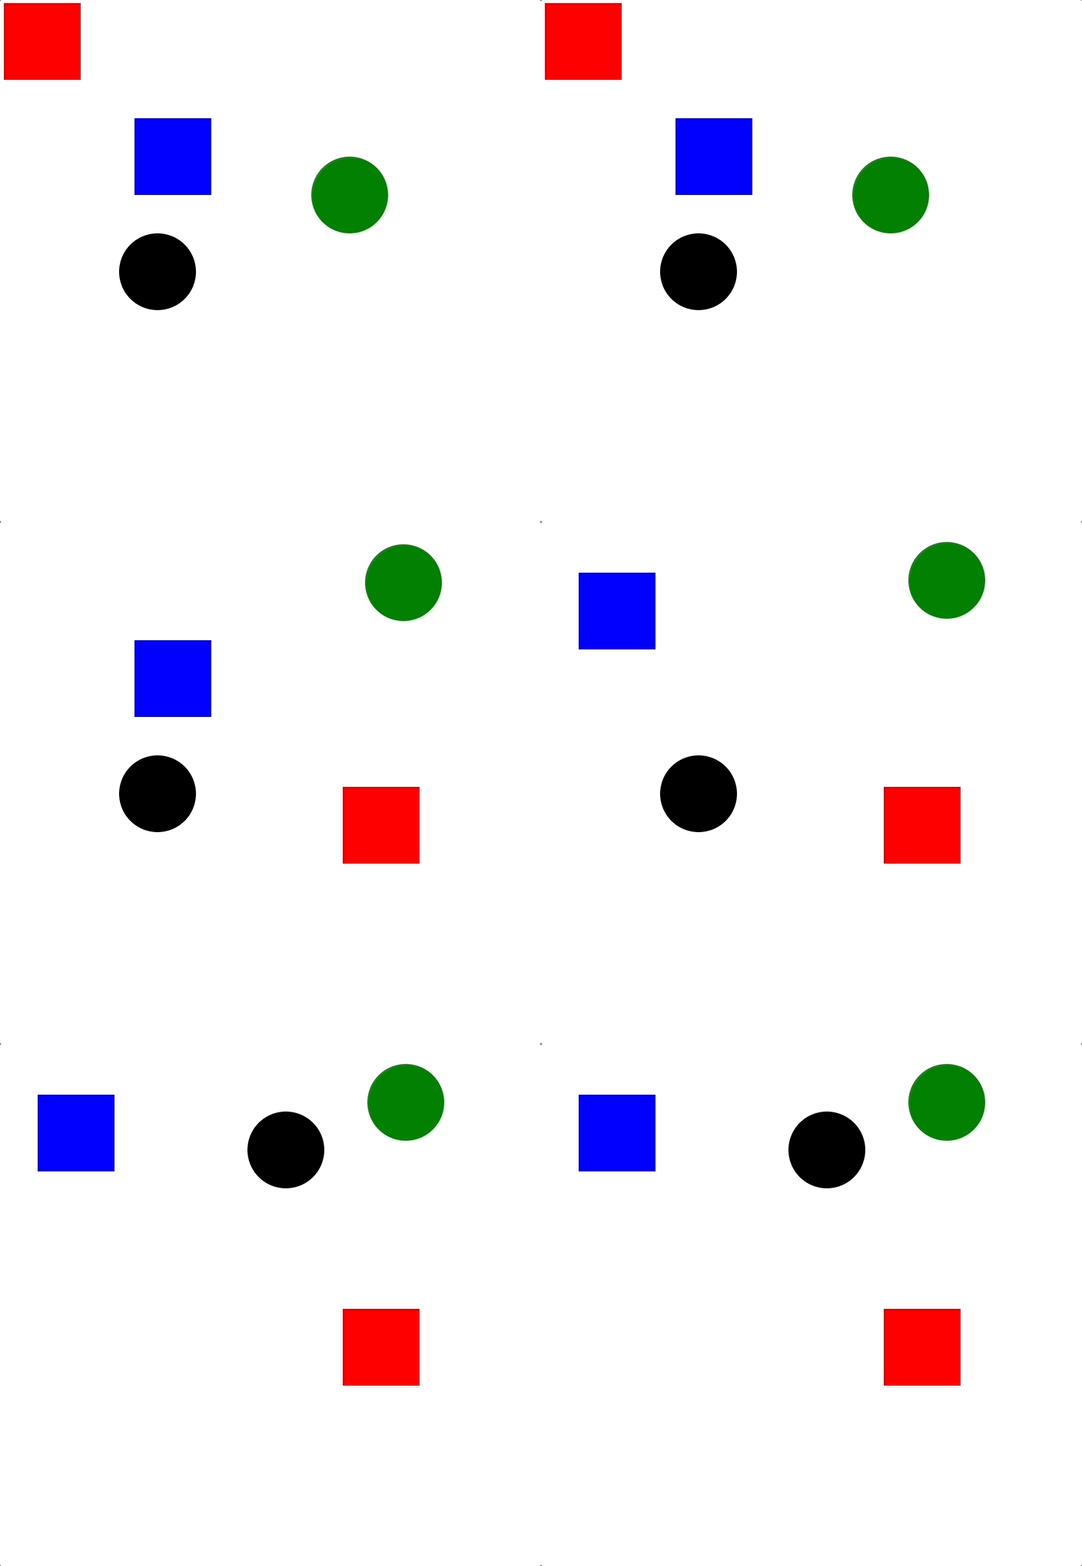
To begin, we will set up the canvas with a few shapes.
import React, { useState } from "react";
import { Stage, Layer, Rect, Circle } from "react-konva";

const SHAPES = [
  {
    id: "1",
    x: 0,
    y: 0,
    height: 100,
    width: 100,
    fill: "red",
    shape: Rect,
  },
  {
    id: "2",
    x: 170,
    y: 150,
    height: 100,
    width: 100,
    fill: "blue",
    shape: Rect,
  },
  {
    id: "3",
    x: 200,
    y: 350,
    height: 100,
    width: 100,
    fill: "black",
    shape: Circle,
  },
  {
    id: "4",
    x: 450,
    y: 250,
    height: 100,
    width: 100,
    fill: "green",
    shape: Circle,
  },
];

export default function App() {
  return (
    <div style={{ width: window.innerWidth, height: window.innerHeight }}>
      <Stage width={window.innerWidth} height={window.innerHeight}>
        <Layer>
          {SHAPES.map(({ shape: Shape, ...props }) => (
            <Shape key={props.id} draggable name="shape" {...props} />
          ))}
        </Layer>
      </Stage>
    </div>
  );
}
The name prop is passed to all the Shapes in the canvas with a value of
"shape". This helps us to query and find the shapes in the canvas that we need
to use for snapping logic.
We have now set up a canvas with a few circles and squares that can be dragged. Link to Codesandbox.

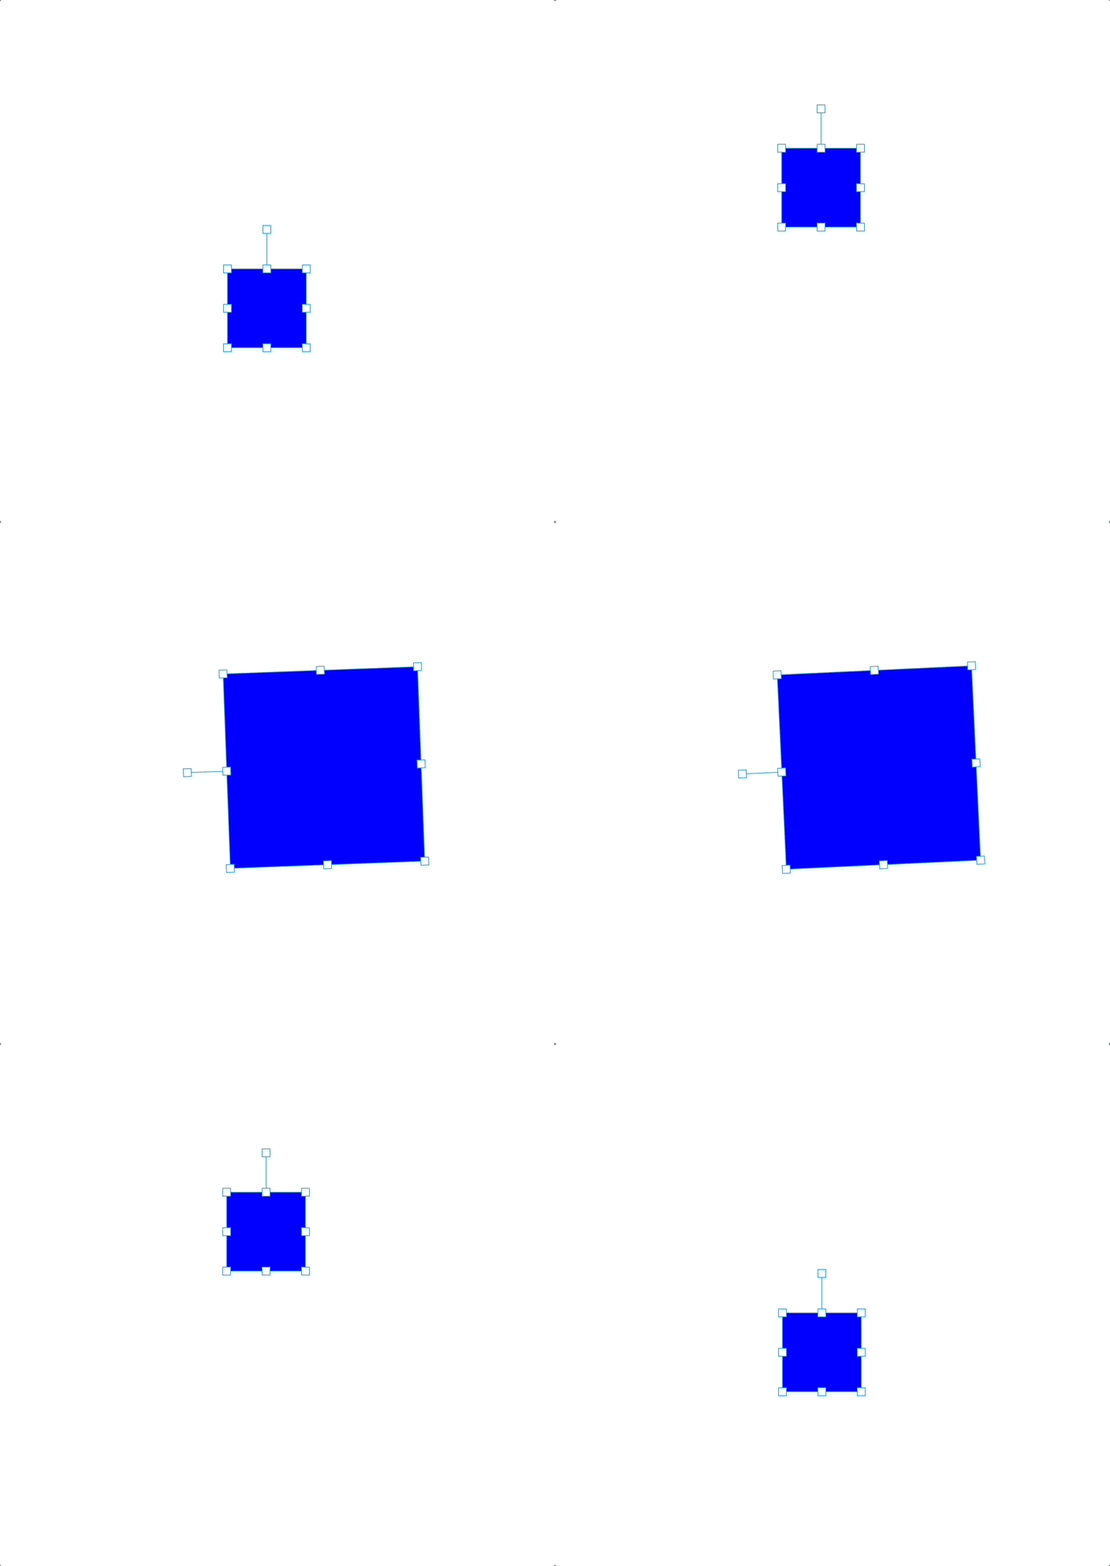
Let’s add a Transformer 📐
In Konva, a Transformer is a node that allows a user to transform or
manipulate a selected Konva shape on a canvas. It provides handles for rotating,
scaling, and dragging the selected shape.
We add Transformer node to allow the user to apply transformations to the
shapes in the canvas. Transformations like translation, scaling and rotations
can be triggered on shapes through the provided handles. Also we would be
listening to events from transformer nodes for implementing the snapping.

Transformer can be imported from react-konva just like the other nodes. We
can add a transformer to the canvas by adding it as a child to the Layer. Be
sure to include a reference to both the Transformer and Stage so that we can
access them later.
Let's also configure onMouseDown handler for shapes to select the shape and
attach it to the transformer whenever we click on them. To unselect when
clicking outside of a shape, add an onClick handler in Stage to remove the
nodes from the Transformer by validating whether the event target is the
Stage node.
export default function App() {
  const stageRef = useRef();
  const transformerRef = useRef();
  return (
    <div style={{ width: window.innerWidth, height: window.innerHeight }}>
      <Stage
        onClick={e =>
          e.target === stageRef.current && transformerRef.current.nodes([])
        }
        ref={stageRef}
        width={window.innerWidth}
        height={window.innerHeight}
      >
        <Layer>
          {SHAPES.map(({ shape: Shape, ...props }) => (
            <Shape
              key={props.id}
              draggable
              name="shape"
              onMouseDown={e => transformerRef.current.nodes([e.currentTarget])}
              {...props}
            />
          ))}
          <Transformer ref={transformerRef} />
        </Layer>
      </Stage>
    </div>
  );
}
Implementing snapping 🪝
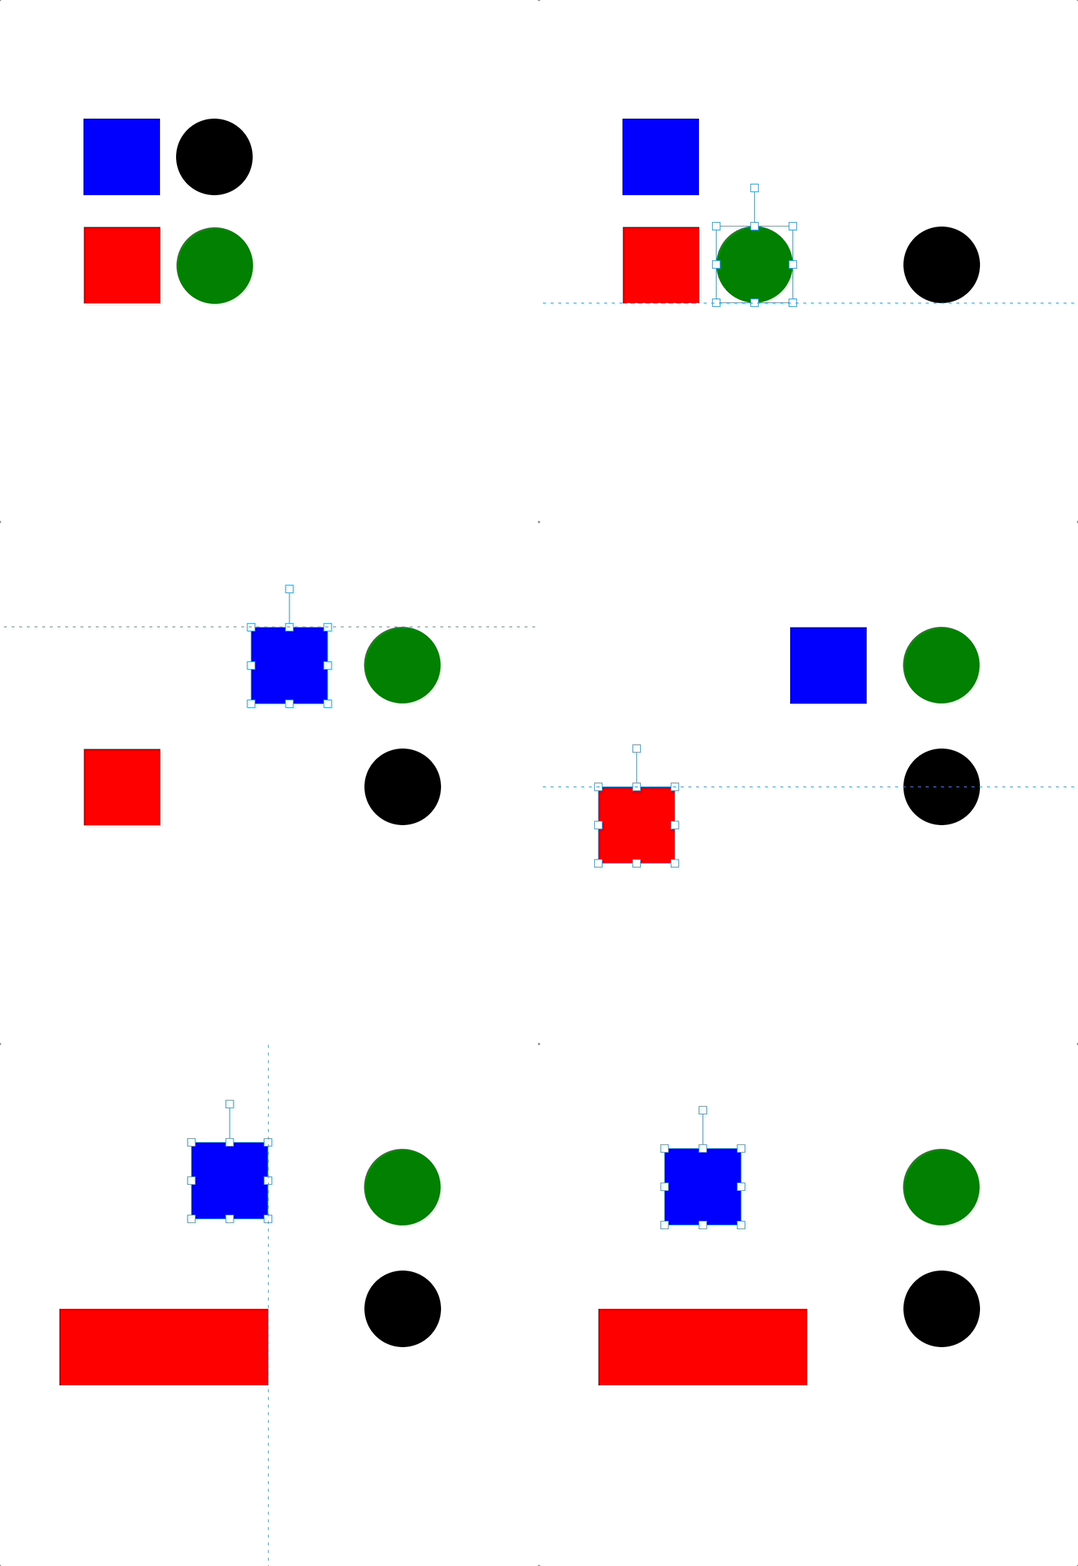
Now that we have set up the Transformer. Let's implement snapping. With that feature, when a shape is dragged near another shape, the edges or the center of the dragged shape should automatically align with the edges or the center of the other shape in such a way that they are in the same line.
We will also show horizontal and vertical lines to visualize the snapping.

We will be using dragmove event in the Transformer node to implement snapping.
On dragmove event, we will find the possible snapping lines based on all the
shapes on the canvas first.
To get all shapes on the canvas, we can use the find method on the Stage
node. We will be using the name prop that we passed to all the shapes to query
and get all the shapes in the canvas.
We don't want the selected shape to be considered for snapping. So we will be
passing the selected shape as an argument excludedShape to the function.
The getClientRect method on the shape node returns the bounding box rectangle
of a node irrespective of it's shape. We will be using that to find the edges
and center of each shape.
const getSnapLines = excludedShape => {
  const stage = stageRef.current;
  if (!stage) return;

  const vertical = [];
  const horizontal = [];

  // We snap over edges and center of each object on the canvas
  // We can query and get all the shapes by their name property `shape`.
  stage.find(".shape").forEach(shape => {
    // We don't want to snap to the selected shape, so we will be passing them as `excludedShape`
    if (shape === excludedShape) return;

    const box = shape.getClientRect({ relativeTo: stage });
    vertical.push([box.x, box.x + box.width, box.x + box.width / 2]);
    horizontal.push([box.y, box.y + box.height, box.y + box.height / 2]);
  });

  return {
    vertical: vertical.flat(),
    horizontal: horizontal.flat(),
  };
};
Then we find the snapping points for the selected shape.
The Transformer node creates a shape named back that covers the entire
selected shape area. We will be using that to find the snapping edges of the
selected shape.
Relative position of the back shape to the Stage node is the same as the
selected shape. So we can use the getClientRect method on the back shape to
get the bounding box of the selected shape.
const getShapeSnappingEdges = () => {
  const stage = stageRef.current;
  const tr = transformerRef.current;

  const box = tr.findOne(".back").getClientRect({ relativeTo: stage });
  const absPos = tr.findOne(".back").absolutePosition();

  return {
    vertical: [
      // Left vertical edge
      {
        guide: box.x,
        offset: absPos.x - box.x,
        snap: "start",
      },
      // Center vertical edge
      {
        guide: box.x + box.width / 2,
        offset: absPos.x - box.x - box.width / 2,
        snap: "center",
      },
      // Right vertical edge
      {
        guide: box.x + box.width,
        offset: absPos.x - box.x - box.width,
        snap: "end",
      },
    ],
    horizontal: [
      // Top horizontal edge
      {
        guide: box.y,
        offset: absPos.y - box.y,
        snap: "start",
      },
      // Center horizontal edge
      {
        guide: box.y + box.height / 2,
        offset: absPos.y - box.y - box.height / 2,
        snap: "center",
      },
      // Bottom horizontal edge
      {
        guide: box.y + box.height,
        offset: absPos.y - box.y - box.height,
        snap: "end",
      },
    ],
  };
};
From the possible snapping lines and the snapping edges of the selected shape, we will find the closest snapping lines.
We will define a SNAP_THRESHOLD to fix how close the shape should be to the
snapping line to trigger a snap. Let's give it a value of 5 pixels. Based on
the threshold, we will find the snap lines that can be considered for snapping.
Sorting the snap lines based on the distance between the line and the selected shape will give us the closest snapping lines as the first element in the array.
const SNAP_THRESHOLD = 5;
const getClosestSnapLines = (possibleSnapLines, shapeSnappingEdges) => {
  const getAllSnapLines = direction => {
    const result = [];
    possibleSnapLines[direction].forEach(snapLine => {
      shapeSnappingEdges[direction].forEach(snappingEdge => {
        const diff = Math.abs(snapLine - snappingEdge.guide);
        // If the distance between the line and the shape is less than the threshold, we will consider it a snapping point.
        if (diff > SNAP_THRESHOLD) return;

        const { snap, offset } = snappingEdge;
        result.push({ snapLine, diff, snap, offset });
      });
    });
    return result;
  };

  const resultV = getAllSnapLines("vertical");
  const resultH = getAllSnapLines("horizontal");

  const closestSnapLines = [];

  const getSnapLine = ({ snapLine, offset, snap }, orientation) => {
    return { snapLine, offset, orientation, snap };
  };

  // find closest vertical and horizontal snappping lines
  const [minV] = resultV.sort((a, b) => a.diff - b.diff);
  const [minH] = resultH.sort((a, b) => a.diff - b.diff);
  if (minV) closestSnapLines.push(getSnapLine(minV, "V"));
  if (minH) closestSnapLines.push(getSnapLine(minH, "H"));

  return closestSnapLines;
};
We need the closest snapping lines to be drawn on the canvas. We will be using
Line node from react-konva for that. We can add a pair of states to store
the coordinates of vertical and horizontal lines.
We will split the closest snapping lines into horizontal and vertical lines and set them in the corresponding states.
const drawLines = (lines = []) => {
  if (lines.length > 0) {
    const lineStyle = {
      stroke: "rgb(0, 161, 255)",
      strokeWidth: 1,
      name: "guid-line",
      dash: [4, 6],
    };
    const hLines = [];
    const vLines = [];
    lines.forEach(l => {
      if (l.orientation === "H") {
        const line = {
          points: [-6000, 0, 6000, 0],
          x: 0,
          y: l.snapLine,
          ...lineStyle,
        };
        hLines.push(line);
      } else if (l.orientation === "V") {
        const line = {
          points: [0, -6000, 0, 6000],
          x: l.snapLine,
          y: 0,
          ...lineStyle,
        };
        vLines.push(line);
      }
    });

    // Set state
    setHLines(hLines);
    setVLines(vLines);
  }
};
Let's combine all the above functions and create a onDragMove handler for the
Transformer node.
We will be using the getNodes method on the Transformer node to get the
selected shape.
Based on the selected shape and the canvas, we will find the closest snapping lines.
If there are no snapping lines within the SNAP_THRESHOLD, we will clear the
lines from the canvas and return from the function.
Otherwise, we will draw the lines on the canvas and calculate the new position of the selected shape based on the closest snapping lines.
const onDragMove = () => {
  const target = transformerRef.current;
  const [selectedNode] = target.getNodes();

  if (!selectedNode) return;

  const possibleSnappingLines = getSnapLines(selectedNode);
  const selectedShapeSnappingEdges = getShapeSnappingEdges();

  const closestSnapLines = getClosestSnapLines(
    possibleSnappingLines,
    selectedShapeSnappingEdges
  );

  // Do nothing if no snapping lines
  if (closestSnapLines.length === 0) {
    setHLines([]);
    setVLines([]);

    return;
  }

  // draw the lines
  drawLines(closestSnapLines);

  const orgAbsPos = target.absolutePosition();
  const absPos = target.absolutePosition();

  // Find new position
  closestSnapLines.forEach(l => {
    const position = l.snapLine + l.offset;
    if (l.orientation === "V") {
      absPos.x = position;
    } else if (l.orientation === "H") {
      absPos.y = position;
    }
  });

  // calculate the difference between original and new position
  const vecDiff = {
    x: orgAbsPos.x - absPos.x,
    y: orgAbsPos.y - absPos.y,
  };

  // apply the difference to the selected shape.
  const nodeAbsPos = selectedNode.getAbsolutePosition();
  const newPos = {
    x: nodeAbsPos.x - vecDiff.x,
    y: nodeAbsPos.y - vecDiff.y,
  };

  selectedNode.setAbsolutePosition(newPos);
};
Finally, let's include the above functions inside the component and attach the
onDragMove handler to Transformer.
export default function App() {
  const [hLines, setHLines] = useState([]);
  const [vLines, setVLines] = useState([]);

  const transformerRef = useRef();

  // define onDragMove here

  return (
    <div style={{ width: window.innerWidth, height: window.innerHeight }}>
      <Stage width={window.innerWidth} height={window.innerHeight}>
        <Layer>
          {SHAPES.map(({ shape: Shape, ...props }) => (
            <Shape
              onMouseDown={e => transformerRef.current.nodes([e.currentTarget])}
              draggable
              ref={props.shapeRef}
              {...props}
            />
          ))}
          <Transformer ref={transformerRef} onDragMove={onDragMove} />
          {hLines.map((item, i) => (
            <Line key={i} {...item} />
          ))}
          {vLines.map((item, i) => (
            <Line key={i} {...item} />
          ))}
        </Layer>
      </Stage>
    </div>
  );
}
We have successfully implemented snapping functionality in the canvas, allowing
the shapes to snap to a specific location while being dragged. You can now try
moving the shapes near the edges and center of other shapes to see the snapping
in action.

All implementation details and live demo can be found in this CodeSandbox.
NeetoWireframe has not been launched for everyone yet. We are internally using it and are happy with how it’s shaping up. If you want to give it a try, then please send an email to [email protected].
Follow @bigbinary on X. Check out our full blog archive.